Do you have a damaged or decayed tooth requiring restoration, or have you recently undergone a root canal? If so, your dentist will likely recommend placing a customized dental crown so you can continue to use the injured tooth to eat, speak, and smile normally.
But some patients feel anxious about getting one of these lifelike prosthetics because they’re unsure what to expect from the process. Continue reading to learn more about 3 steps your dentist will likely take when fitting you with a dental crown to help soothe your frayed nerves!
Step #1: Examination and Assessment
Dental crowns are a tried-and-true way to treat injured teeth that still have enough healthy enamel to support a restoration. But that doesn’t mean these tooth-shaped covers are the best way to meet everyone’s unique needs.
Before proceeding, your dentist will examine your teeth and gums and may take X-rays or other imaging to assist with diagnosis. Then, they can devise an appropriate treatment plan based on their findings and your current circumstances.
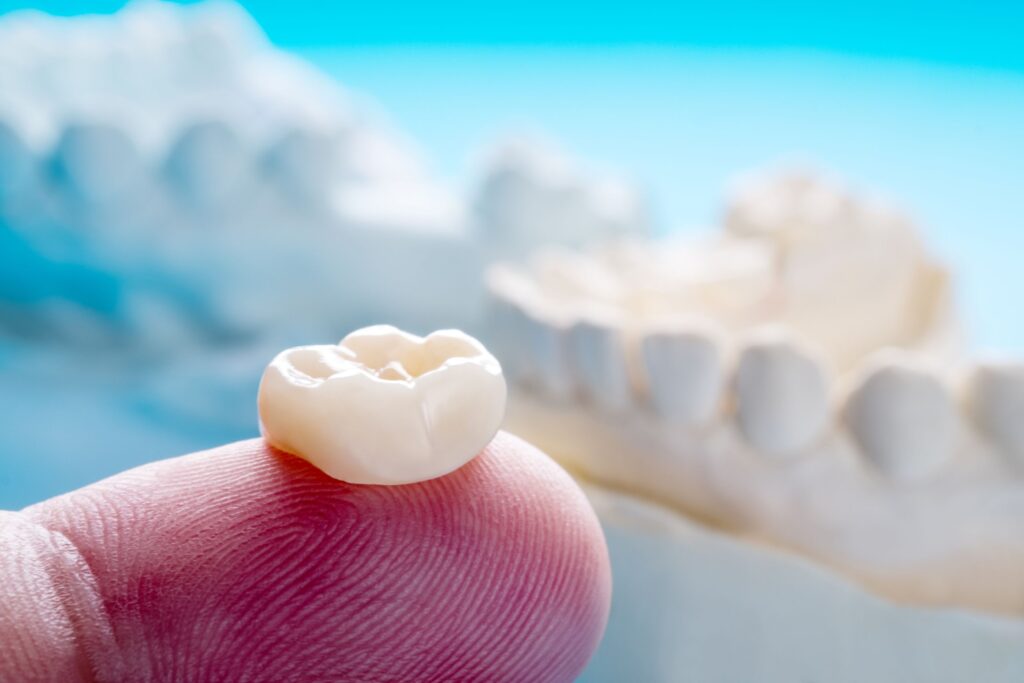
Step #2: Preparation and Impressions
After your provider determines that you’re a good candidate for this service, they’ll proceed with preparing the affected tooth. A small amount of enamel must be removed for your prosthetic to fit correctly without looking bulky or contributing to a misalignment, so your dentist will use specialized instruments to carefully thin the protective outer layer of your teeth.
Then, they’ll make accurate digital impressions of your teeth, gums, and bite alignment, which will be sent to a dental laboratory to begin designing your restoration.
Step #3: Temporary Crown Placement
Your problematic tooth is at an increased risk of sustaining additional damage or decay once the enamel is thinned, and it can sometimes take the lab a couple of weeks to deliver your one-of-a-kind dental crown. As a result, your dentist may want to place a temporary crown to help safeguard your smile until the permanent one arrives.
Step #4: Cementing Permanent Restoration
Once the lab creates your permanent dental crown, they’ll deliver it to your provider’s office so they can schedule an appointment for final fitting and placement. Your dentist will want to ensure the cap fits and functions correctly, then will cement it over your injured tooth. Next, they’ll remove any excess material before polishing your prosthetic to a shine and sending you home with a beautifully restored smile!
If you still feel unsure about what to expect from your upcoming appointment, your dentist can provide more detailed information based on your individual circumstances!
Meet the Author
Dr. Jayme Glamm takes pride in helping patients enhance their lives by improving their dental health. She earned her Doctor of Dental Surgery (DDS) degree from Ohio State University College of Dentistry before completing a General Practice Residency at the University of Colorado School of Dental Medicine. Today, she has 15 years of experience providing a complete menu of services, including dental crowns, to meet even the most unique needs conveniently under one roof. You can request an appointment by contacting the office on the website or calling (614) 487-0112.